E L E C T R O N I C P R O D U C T I O N
(updated!)
A PCB BOARD
(intended)
The assignment was to create our very own in-circuit programmer. For many of us, who did not understand exactly how this worked or what our starting point was supposed to be, we were given the following steps to follow:
1- Mill the board
2- Stuff the board (this means we surface mount the components with solder)
3- Program the board
I had never created my own programmer, but I had milled and soldered before. With a little help programming, I was all set!
...not so fast
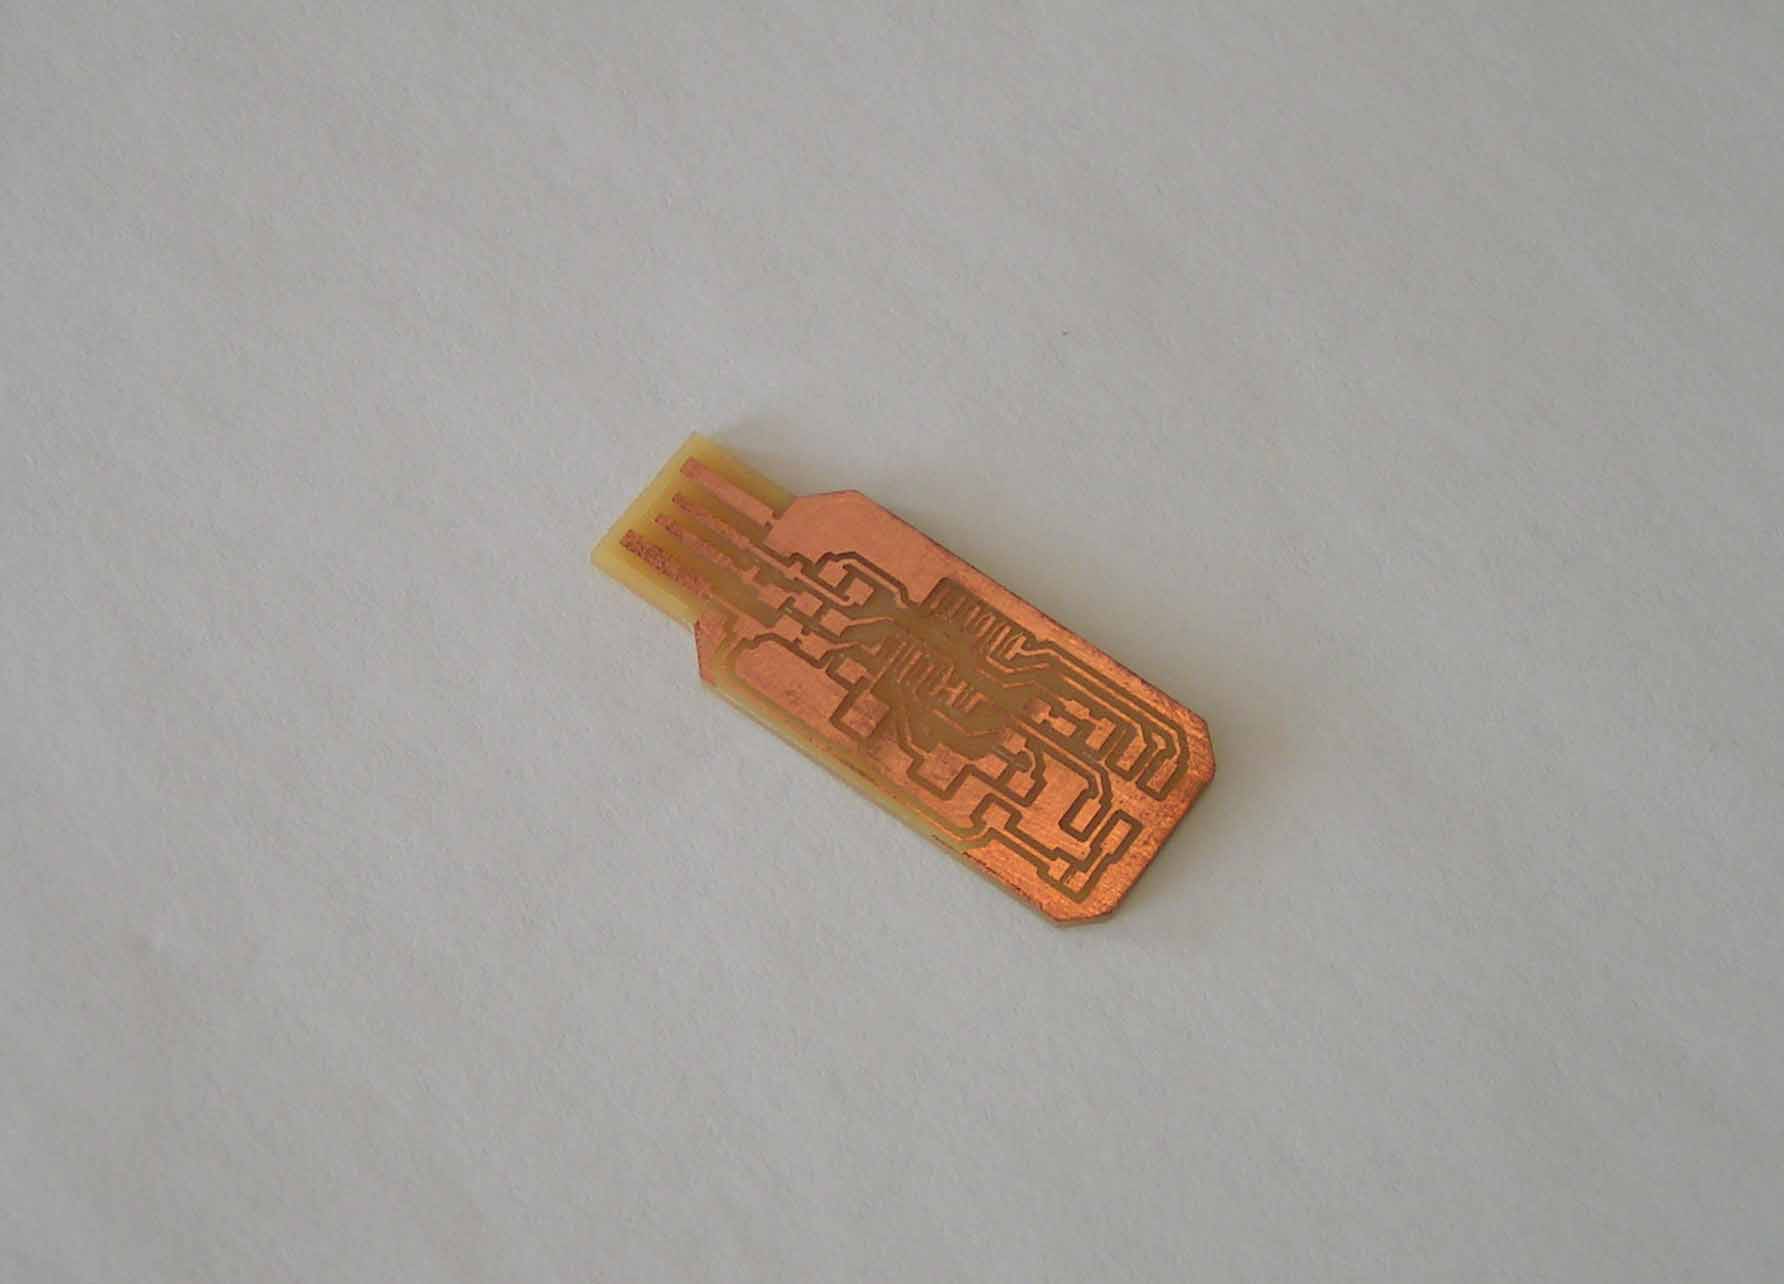
For the milling, we were using the Roland Modela, a machine that is not really intended for this process but that does the trick-- we do this all the time, so I was thinking it would be a simple process, especially since we had all the instructions and image files from the class website. We were using a 1/64" bit to mill the traces and a1/32" bit to cut out the board.
This process quickly turned in to ME v. THE ROLAND MODELA and it set the tone for just how picky the process would really be for a newbie like me.
Attempt #1 - From the original board stock, we can cut out three boards. Mine was the third in this succession after two successful boards.
Result - The traces cut our just fine, but the 1/32" bit broke mid-cut. The board had to be cut out by hand and some of the traces were damaged.
The ROLAND MODELA wins!


Attempt #2 - I try to teach the ROLAND MODELA a lesson and try to cut out three boards in order to take advantage of the full stock. One of boards, was to following Andy Bardagjy's design and the other two Neil's deign, just to prove that the tiny ROLAND MODELA had nothing on me.
Result - The boards came out pretty good and I realized one of the screws that holds up the bit had been stripped. This was the reason the bit had broken during the previous attempt because it had become loose and fallen out. At this point, I realized how volatile the machine was and John (from the CBA shop) wisely suggested I don't test my luck.
I don't really win... I just walk away with a mild sense of victory.

Now on to step #2
The next step was at first both exciting and seemingly insurmountable. The idea was to stuff Neil's board and then on to Andy's.
I started soldering the smallest components near the center first and the process seemed a little tricky, but fairly straightforward. My solders weren't the prettiest, but they seemed to be holding the board together well.

Before stuffing Andy's board, I went on to test Neil's to see if my microprogrammer would indeed work.


Now on to step #3 - "Computer says NO!"
The title says it all. I couldn't get the board to work at all. I tried troubleshooting with David Costanza and after testing his patience for a while, I made the decision to start from scratch.
This means a re match with the MODELA... which I'm not sure yet is a good thing.
UPDATE
I had a second change vs. the Modela and I think I know the reason for the previous issues I had. For some reason, the Modela in the architecture shop worked like a charm. Thinking about the setting of the machines, I realized I simply can't reach the Modela in the CBA shop properly so screw in the mill, so I was probably screwing it on too tight-- which was probably the cause to all of my problems. So once I was properly set-up at the architecture shop, look what I made...


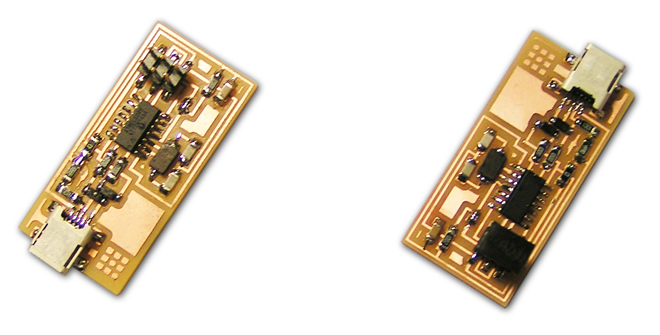
Then I stuffed the new board (on the right) and I am currently working on programming it, I will update as soon as I get it working.
Lessons Learned
Don't let the MODELA win!
Soldering is like riding a bike. While you learn, you simply can't and all the other kids have grounds to make fun of you. Then you learn and you can join in on the fun.
Make sure you are in a good position to change/zero the bit on the Modela. As it is, the Modela is a cranky machine and if it has any reason to not work properly, it won't. Make sure you don't over-tighten the bit and always cut more than just one board... just in case.